OUT
If you wish to retrieve (take out) goods which have been stored by IN operation, reverse process must be performed which is handled by OUT operation.
Component Requirement
Prior to the launching of OUT operation, the following settings and operation must be configured and performed firsthand.
- Settings > Location {Where to store}
- Settings > User Manager {who performs this operation}
- Settings > Item Master {What to store}
- Operation > Main Operation > IN {Item must be stored first before you are able to retrieve it}
Application
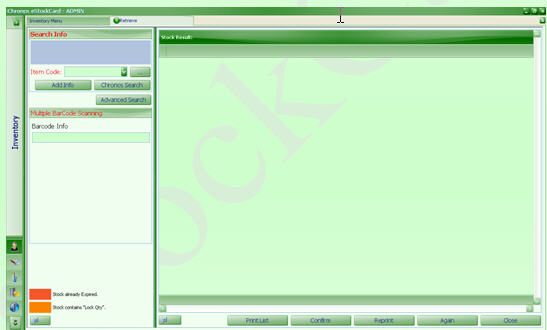
Path: Inventory > OUT (Fig. 1)
( Fig. 1 )
The layout of OUT screen is very simple too! This is the default (preset) layout. If you feel the layout of this screen is NOT suitable or NOT fit to your current operation. You can change it according to your preference or process.
Example:
Let say previously we have stored 20 copies of “MS Windows Vista Business”. Now, assume that we have an order of 5 copies of “MS Windows Vista Business” which is ready to be delivered to customer. Here are the steps to perform the OUT operation:
Step 1 Click “Inventory > OUT”.
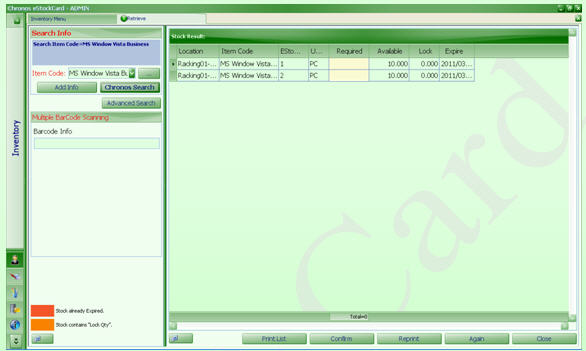
Step 2 Select “MS Windows Vista Business” from item code’s drop down and click “Chronos Search” (Fig. 2)
( Fig 2 )
There are two locations having “MS Windows Vista Business”. Besides location codes, additional useful information displayed to enable and assist warehouse operator to perform their job better. Such information includes:
- Serial No
- UOM
- Required Qty (how many you wish to take out)
- Available Qty (how many are available)
- Lock Qty (how many have been hold or locked due to certain reasons)
- Expiry Date
- and etc. For other columns name, just right click on the header name and then select ‘Column Chooser’. Others additional columns name will be available. To have them appear in the Stock Result screen, just drag the name out into it.
NOTE: If the items are locked, you can’t retrieve it. You must unlock first before any retrieval can be performed.
Step 3 The Available Qty for both locations = 10. You can retrieve 5 copies from any location. The listing sequence is following FIFO approach since you have configured this item in Settings > Item > Master.
If you wish to retrieve it from location “Racking1-L1-C1”, here are the steps:
a) Click the row with location code “Racking1-L1-C1”.
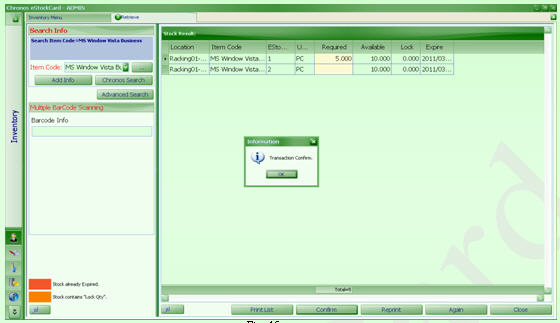
b) Enter Required Qty = 5, click “Confirm” (Fig. 3)
( Fig. 3 )
Important Note
A tag will be printed once this operation is done successfully. The tag consist much useful information such as item code, qty, serial number and location code. You are advised to paste it on the physical item for trace-ability and validation.
If you wish to add or delete information on the tag, you amend or modify it by re-design the label and activate it. {Path: Tools > Label}. This will be discussed later.
To enable the auto-print tag feature, you have to enable it by ticking “OUT Setting”.
Path: “Settings > System> Operation Setting.
Step 4 Click “Again” to perform new OUT operation or Click “Close” to exit OUT screen.
Validation
Path: Reports > Inventory
There are many form of reports are available to validate the OUT operation performed.
Option 1 Reports > Inventory > Inventory Details – By Item
Step 1 Click “Reports > Inventory > Inventory Details – By Item”.
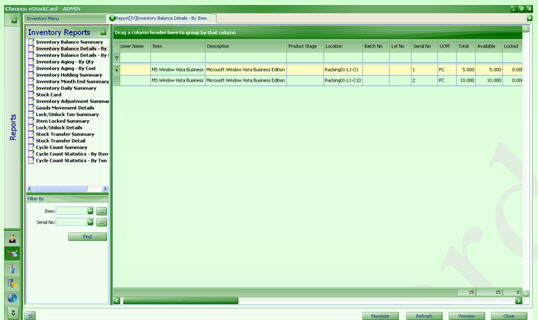
Step 2 Under “Filter By” pull down, select “MS Windows Vista Business” from item code drop down and click “Find” (Fig. 4)
(Fig 4 )
You will notice that the Available Qty has reduced to 5 .
Option 2 Reports > Inventory > Inventory Details – By Location
Step 1 Click “Reports > Inventory > Inventory Details – By Location” (Fig. 5)
Step 2 You can filter by specific location; otherwise, all locations (NOT EMPTY) will be displayed. Select location address “Racking01-L1-C1” and click the “+” sign to append it for more information.
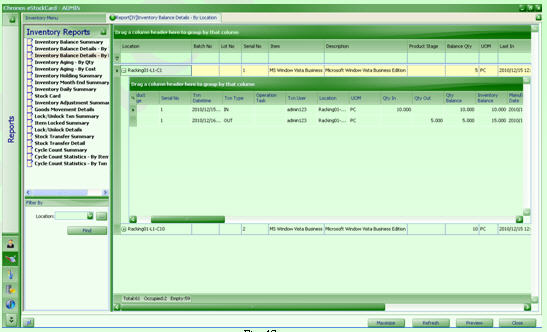
( Fig. 5 )
Option 3 Reports > Inventory > Goods Movement Details
Step 1 Click “Reports > Inventory > Goods Movement Details”.
Step 2 You can filter by item code = MS Windows Vista Business and serial number = 1 and click “find” (Fig. 6)
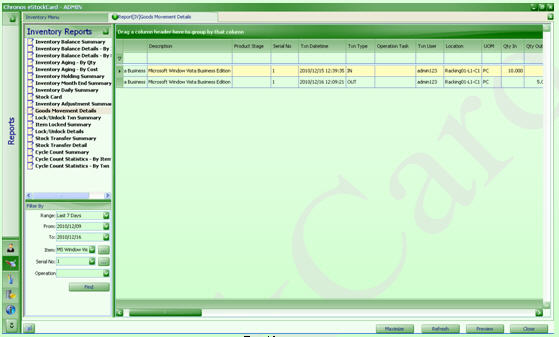
( Fig. 6)
Until this stage, you should be able and familiar to perform an OUT operation and validate what has been done.
However, this is only basic operation. There are many optional fields available for you to enter appropriate data. This additional information may assist you later in other operations as well as reporting.